Hung Straight. Changed Fast. Built To Last.

Display Rails for Every Wall and Every Room

Wall-mounted display rails for classrooms, galleries, offices, healthcare corridors, and retail floors. Hang artwork, notices, and signage in seconds without pinholes, tape, or patched walls.

  • Cork, gripper, magnetic, track and banner rails compared
  • Mounting on drywall, plaster, masonry, glass and panels
  • Height, levelling and load conventions that installers use
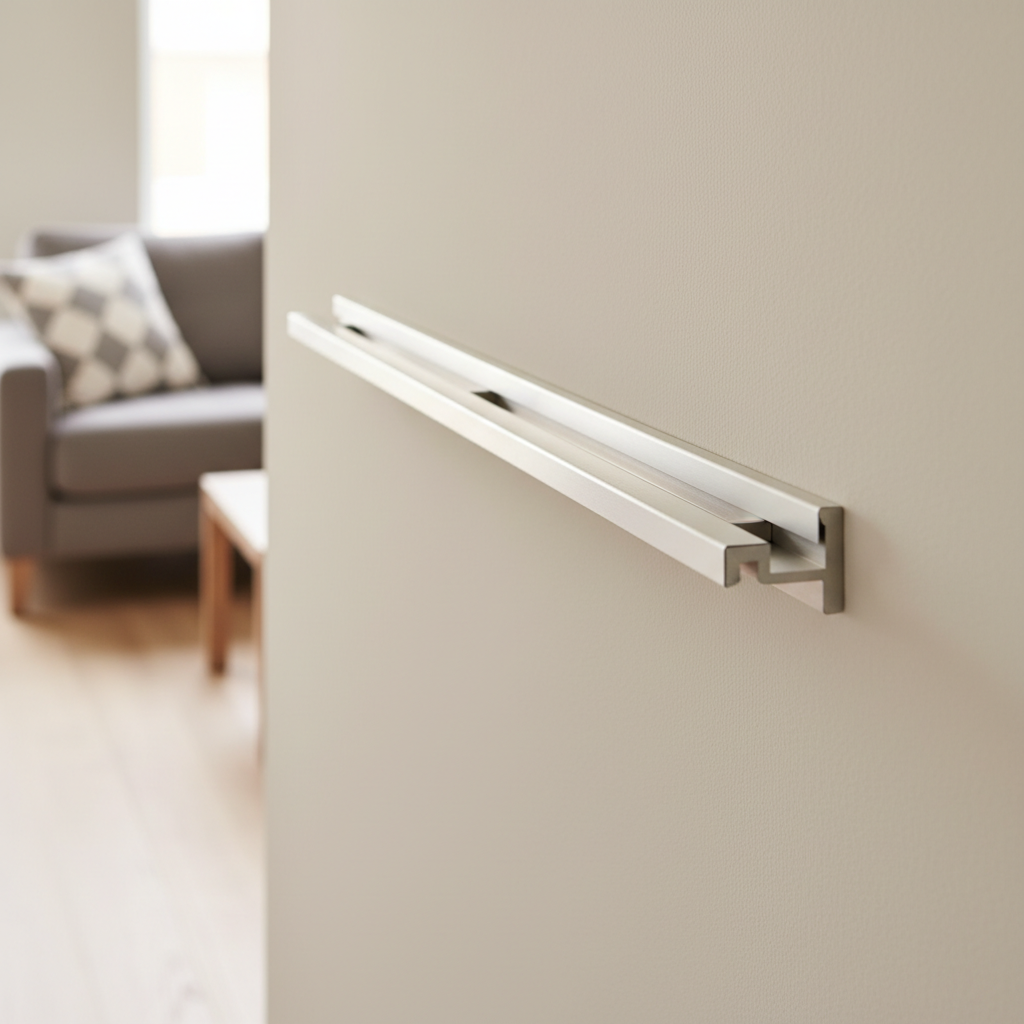
A long wall-mounted display rail running across a bright interior wall with work hanging evenly beneath it

The fundamentals

What a Display Rail Does

A display rail is a continuous strip fixed horizontally to the wall whose only job is to hold things you intend to change. The grip varies by type: a soft face that takes push pins, a spring jaw that clamps the top edge of a sheet, a steel face that accepts magnets, or a track that carries cables and adjustable hooks. What they share is the principle. The wall takes fasteners once, at installation, and everything after that goes up and comes down without the wall being touched again.

The alternative is what most walls actually get: pins pushed straight into plaster, tape that lifts paint on removal, and adhesive putty that leaves a grease shadow. Each change adds damage, and the damage is spread across the whole wall surface. A rail concentrates it into one row of anchors and, as a side effect, gives whoever is putting things up a straight line to work to. Displays hung on a rail look deliberate because the geometry is decided once, by the installer, rather than every time by whoever is holding the tape.

The trade-off is that a rail is semi-permanent. Its position is a design decision made at install time, and moving it later means filling and repainting a line of screw holes. The height, the length of the run and the type of grip are worth an hour of thought before anyone drills.

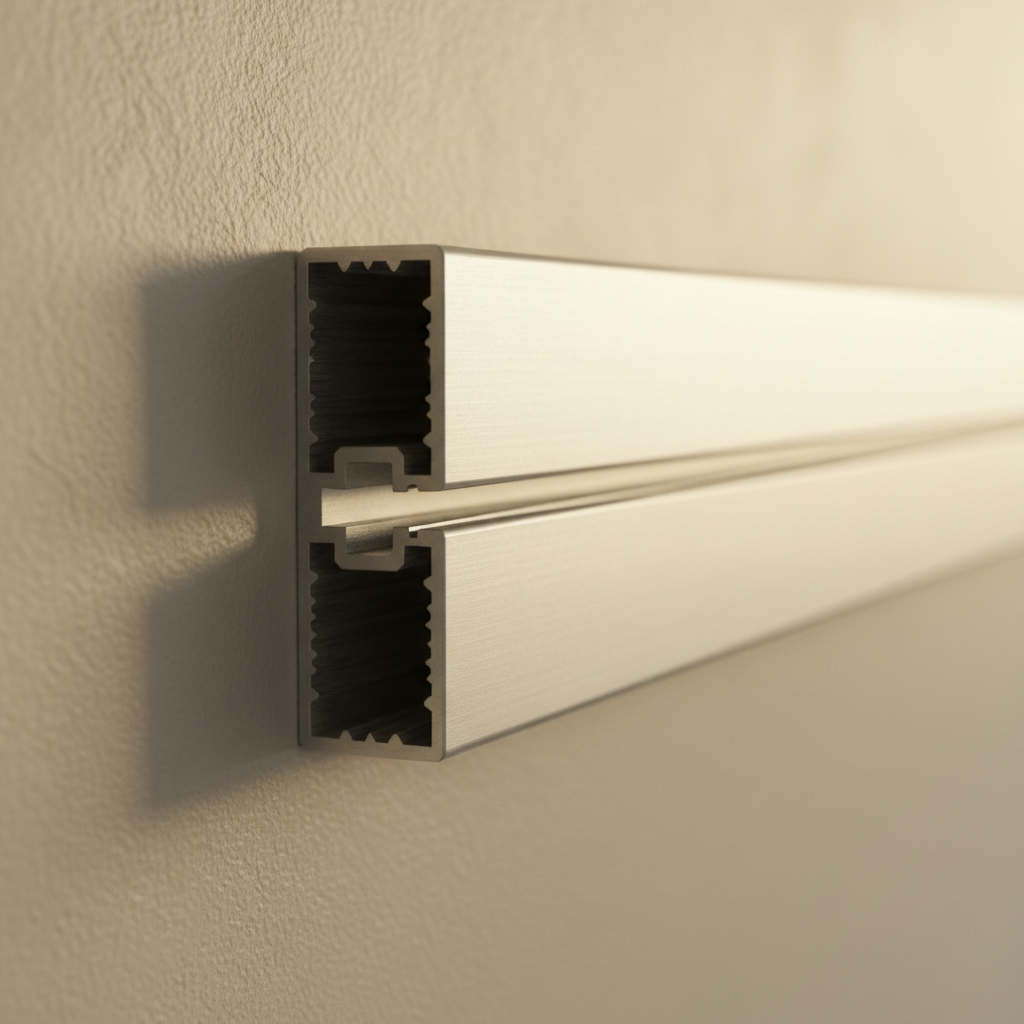
Close detail of an aluminum display rail extrusion mounted on a wall showing the gripper channel profile

Four words that get used interchangeably, and should not be

Suppliers, architects and facilities teams use these terms loosely, which is how the wrong product ends up on a wall. It is worth being precise at the enquiry stage.

Display rail
The umbrella term. Any continuous wall-mounted strip designed to hold changeable content, whatever the grip mechanism, from a cork strip to a full track system.
Tack strip / map rail
A cork or self-healing vinyl face in an aluminum retainer, made for push pins. Called map rail when the retainer also carries map hooks and paper holders, typically above a marker board.
Picture rail
The traditional moulding set high on the wall in older buildings. Shaped hooks lip over the top of it and cords or chains drop to framed work. The ancestor of the modern track system, and often decorative in its own right.
Magnetic strip
A steel or steel-faced strip that holds content with magnets. Nothing penetrates the sheet at all, but capacity is limited by what the magnets can grip, so it stays in paper and light card territory.

The lineup

Rail Types

Five constructions cover almost everything on the market. They differ in one thing above all, how they grip, and every other difference in cost, finish and mounting follows from that.

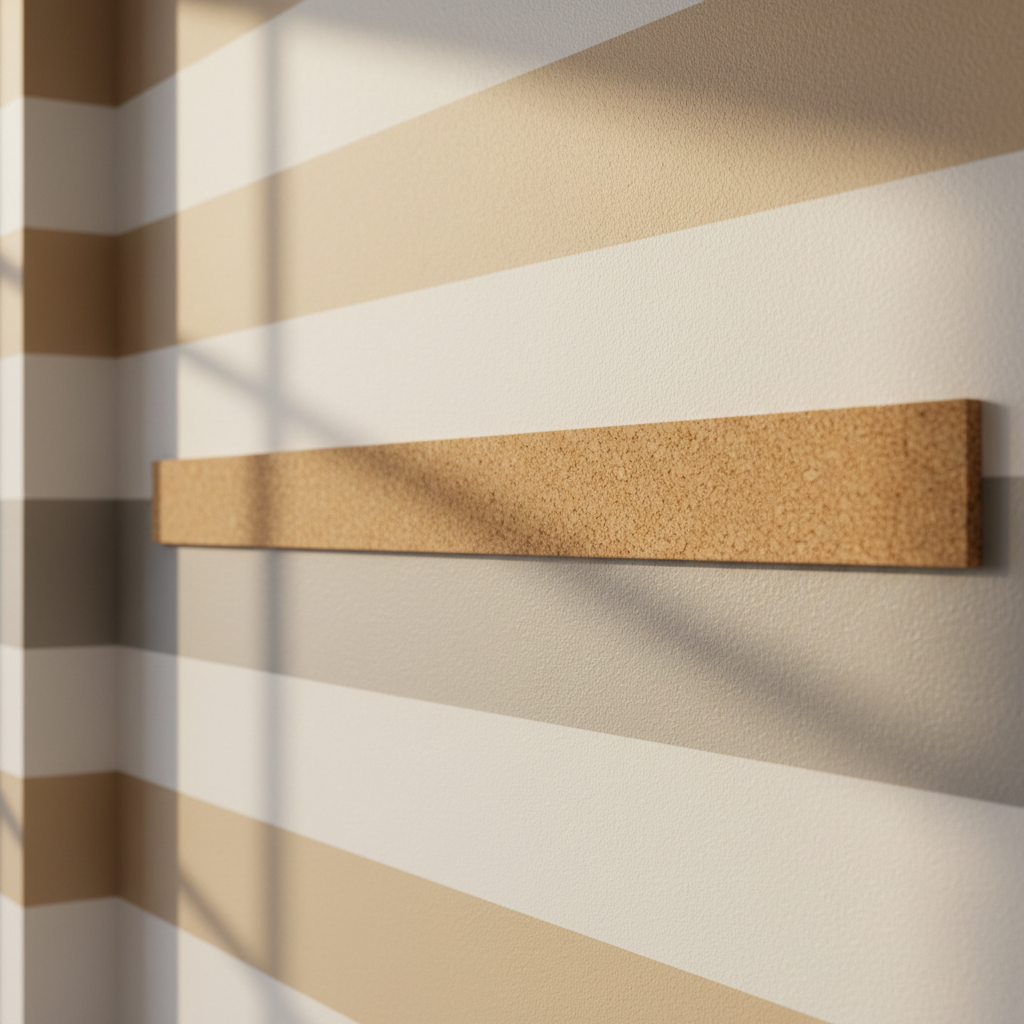
A natural cork faced display rail mounted horizontally on a pale interior wall

Cork & Tackless Rails

Push pins, no board

  • A cork or self-healing vinyl face held in an extruded aluminum retainer. Pins push in easily and the face closes behind them, so the same strip takes thousands of pin holes without visibly wearing out.
  • Face widths are typically in the one to three inch range. Wider faces take more pins and larger sheets; narrower faces read as a trim line rather than a board.
  • Often specified as map rail above a marker board, where the retainer also carries map hooks, flag holders and paper clamps in the same channel.
  • Finishes follow the retainer: clear or satin anodized aluminum, painted colours, and wood or wood-effect caps for softer interiors.
A satin anodized aluminum snap rail profile mounted on a pale wall

Aluminum Snap & Gripper Rails

Grips paper, no pins

  • A spring-loaded jaw or a hinged snap front. You press the top edge of the sheet into the rail and the mechanism holds it along its full width.
  • Nothing pierces the paper, so posters and notices come down undamaged and can be reused, which matters where the same signage rotates through several rooms.
  • The fastest type to change, which is why it suits notices that turn over weekly and any display a non-specialist has to update.
  • Sold in stock lengths and in poster widths, usually in anodized silver, white or black, and normally cut to length on site.
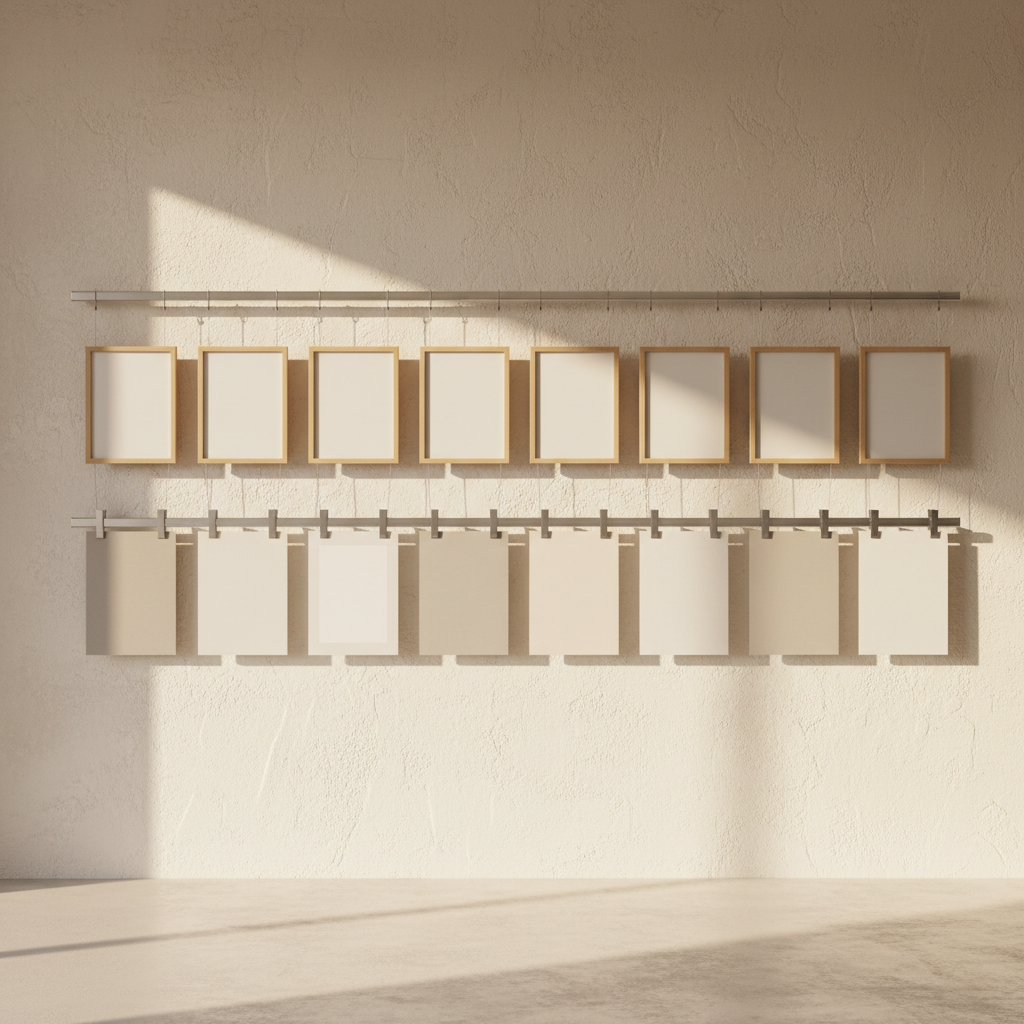
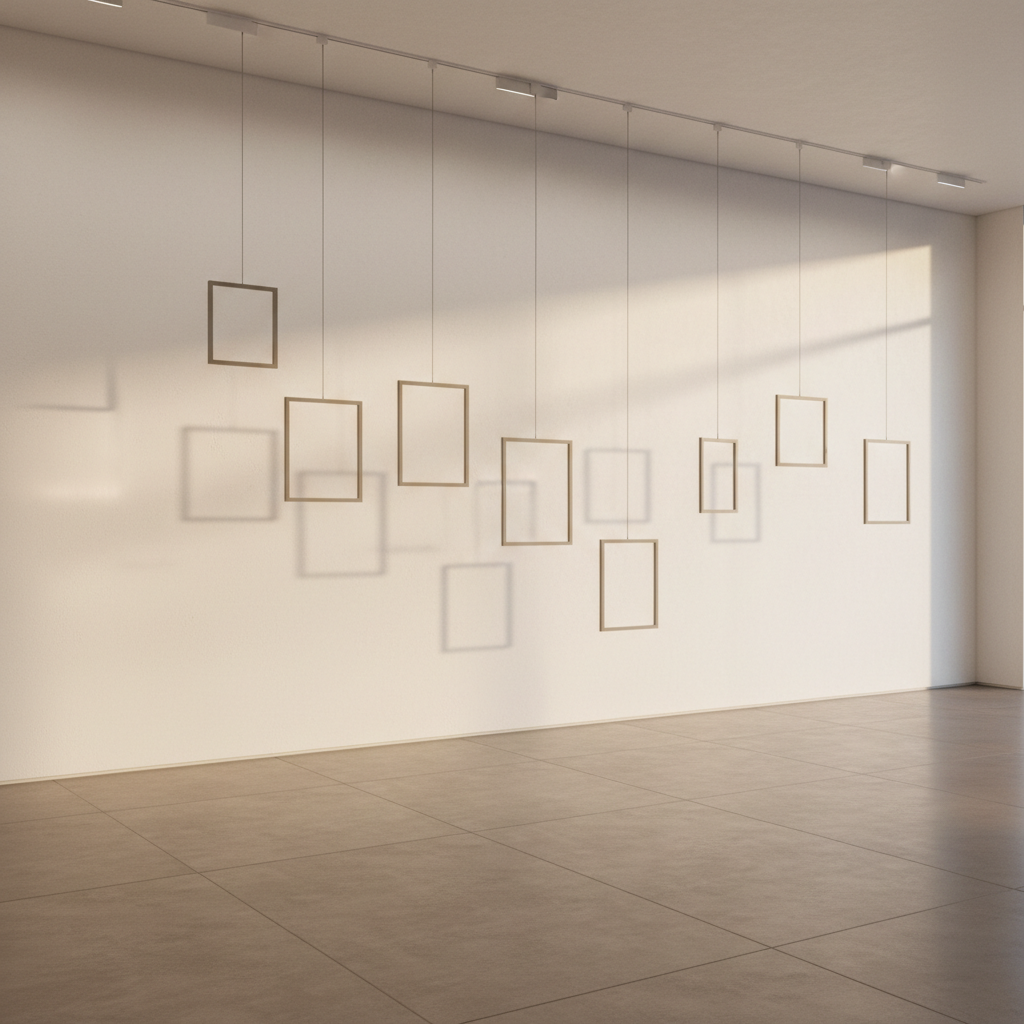
A minimal gallery wall with a slim ceiling mounted track and thin hanging cables holding blank frames

Gallery & Track Hanging Systems

Adjustable cables and hooks

  • An aluminum track fixed at the top of the wall or to the ceiling. Sliders drop nylon or steel cables, or rigid rods, and hooks slide on those cables to set the exact height.
  • The only type that lets you rehang framed work at any position, at any height, without touching the wall again. That is why galleries and museums standardise on it.
  • Splice connectors join lengths into a continuous run, and corner pieces carry the track around the room.
  • The highest cost per linear foot of the five, and the one that repays itself fastest anywhere the display changes on a schedule.

Magnets on a steel face

Magnetic Rails

Nothing pierces the sheet

  • A steel or steel-faced strip, available with painted, porcelain or dry-erase surfaces. Content is held by magnets placed wherever it needs support.
  • The only type that marks neither the wall nor the sheet, so original documents and reusable printed material survive repeated display.
  • Capacity is set by the magnets and the finish, not by the rail. Stick to paper, card and light board, and use more magnets on anything wide.
  • Frequently specified in healthcare and food-service settings, where a sealed, wipeable face is required and cork is not acceptable.

Clamped top and bottom

Poster & Banner Rails

Large format, hanging flat

  • Two clamping profiles that grip the full width of a sheet, one at the top and one at the bottom, either snap-open or screw-clamped.
  • The bottom profile is the point of the design. Its weight keeps large prints and fabric banners hanging flat instead of curling away from the wall.
  • The top profile carries cord, cable or hooks, so the whole assembly can hang from a track, from a ceiling fixing, or from a single wall hook.
  • Sized to the width of the graphic rather than to the wall, in anodized aluminum, painted finishes or wood, so order them against the artwork dimensions.

In the building

Where They Go

The same product solves noticeably different problems depending on who is changing the display, how often, and what happens to the wall in between.

A bright sunlit classroom wall with children's work hung in a neat row along a wall rail

K-12 Classrooms & School Corridors

Schools change their walls constantly, and they do it with whatever is to hand. That is how painted block walls end up scarred with tape marks and how a corridor display becomes a maintenance job every summer.

The standard answer is cork map rail above the marker board in each teaching room, giving every teacher a permanent line to pin to, plus longer runs down corridors for rotating student work. Gripper rails at entrances and outside offices handle the notices that change weekly and that anyone might need to swap.

  • Height matters more here than anywhere else: a corridor rail hung for adults is unreachable for the children whose work is on it.
  • Painted block and plaster are common in older schools, so confirm the substrate before assuming drywall anchors.
A serene museum gallery interior with blank canvases suspended from a rail system on a white wall

Museums & Galleries

A gallery wall is rehung several times a year, and every nail hole is patched, sanded and repainted before the next show opens. Multiply that by every wall in the building and the labour is significant.

Track hanging systems remove the cycle entirely. The track goes in once, cables and hooks move freely along it, and each rehang becomes an afternoon of adjustment rather than a week of making good. It also means work can be repositioned during install without anyone having to commit to a hole.

  • Adjustable hooks let a curator set each piece to a common centre line across mixed frame sizes.
  • Long uninterrupted walls are where levelling discipline pays off, so set a laser line for the whole run rather than section by section.
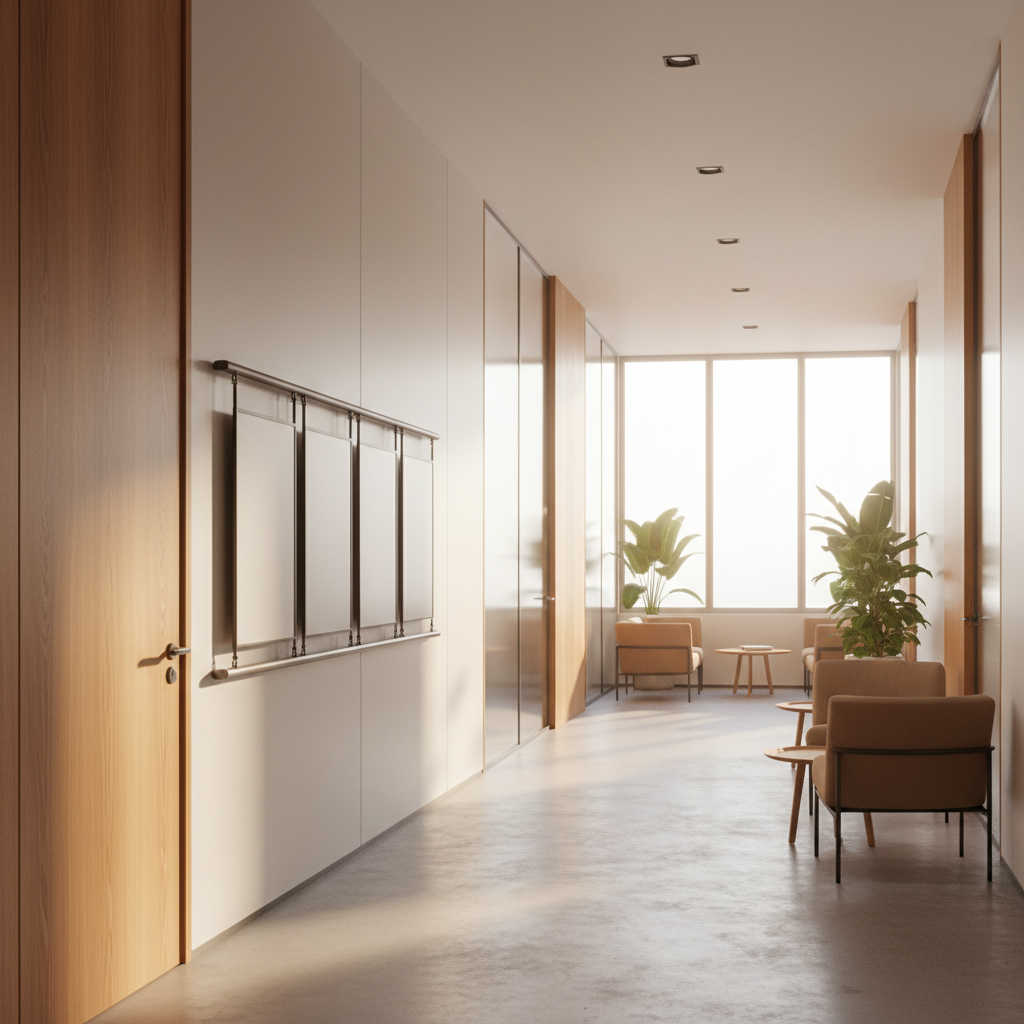
A modern office corridor with blank notice panels hung along a horizontal wall rail

Corporate Offices & Conference Rooms

Offices need walls that hold information without looking like a noticeboard. Project walls, planning boards, printed metrics and rotating notices all have to go up, come down and look deliberate while they are there.

Magnetic and gripper rails do this cleanly, since content sits in a straight line at a consistent height and nothing is pinned at an angle. In conference rooms a rail alongside the screen wall gives presenters somewhere to post printed material without adhesive on the paint.

  • Cubicle and demountable partition systems take their own panel hardware. Do not drill them.
  • Glass-fronted meeting rooms usually need a ceiling-mounted track instead of a wall rail.

Healthcare & Wayfinding

  • Verify current accessibility requirements for your jurisdiction and occupancy with the authority having jurisdiction.
  • Infection-control settings usually rule out cork in favour of sealed, cleanable faces.

Healthcare corridors are governed by cleaning regimes and by circulation rules, and both constrain what can go on the wall. Non-porous rail faces wipe down where cork cannot, and department signage that changes with staffing needs a mechanism that a facilities team can update in seconds.

The rule to know is protrusion. Under the ADA Standards for Accessible Design, objects with leading edges between 27 and 80 inches above the floor should not project more than 4 inches into a circulation path. Display rails are shallow enough to sit comfortably inside that limit, but hardware, hooks and the depth of what is hung on them are all part of the measurement, so check the assembled depth rather than the rail alone.

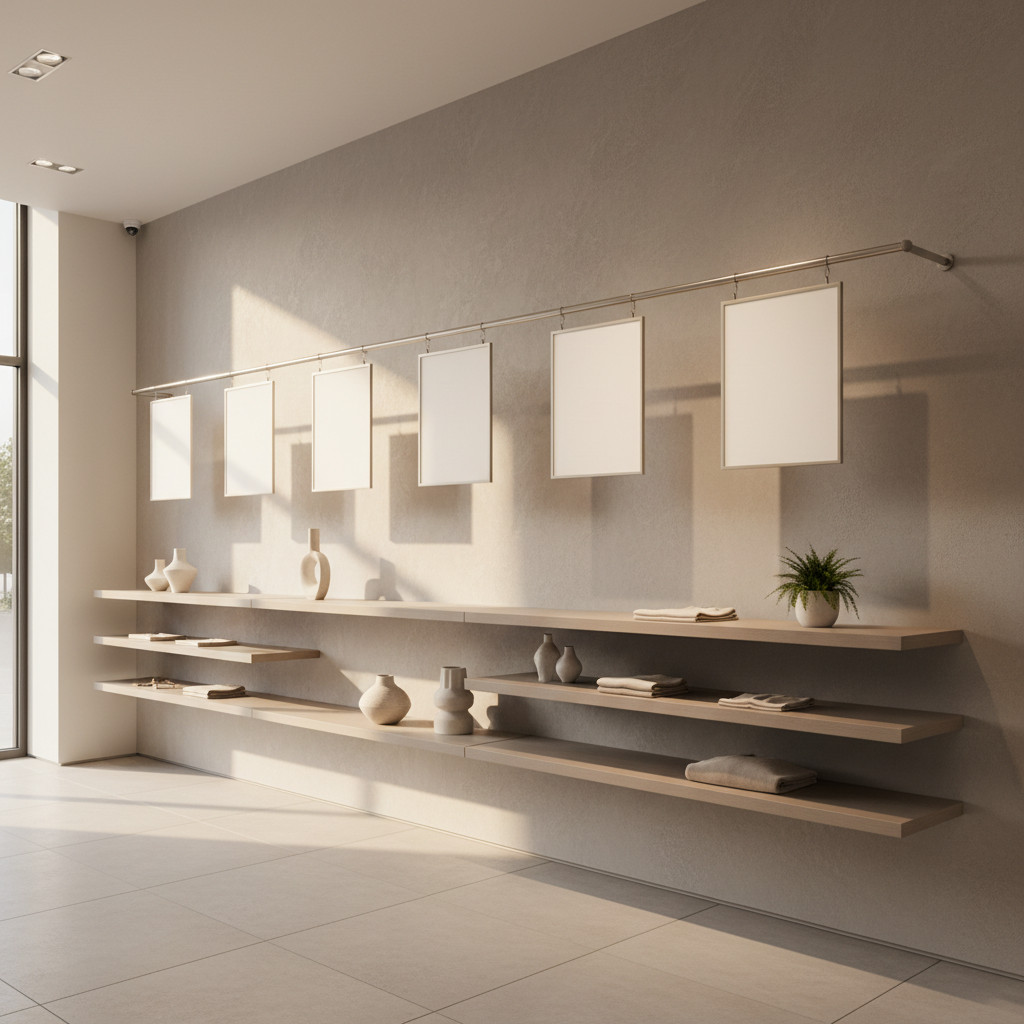
An upscale boutique retail interior with blank hanging signage panels on a slim rail above merchandise shelving

Retail Merchandising

Retail signage has a short life by design. Promotions change weekly, seasonal graphics change monthly, and every change is made by store staff under time pressure rather than by an installer.

Rails give that process a fixed geometry. Sight lines stay consistent from bay to bay, large format graphics hang flat instead of curling off a wall, and a member of staff can change a run in minutes without a ladder full of tape and putty.

  • Banner rails weight the bottom edge, which keeps large prints flat under air movement from doors and vents.
  • Standardising rail positions across stores makes centrally printed graphics fit every location.

Installation

Mounting and Load Basics

Rails almost never fail as rails. They fail at the anchor, at the joint between two lengths, or at a height nobody thought about. These are the four decisions that determine whether an installation looks right in five years.

1. The wall you actually have

Drywall over studs

Fix into the studs wherever you can, since a long rail will cross several of them and spread the load. Where a fixing lands between studs, use toggle bolts or rated hollow-wall anchors, not plastic plugs. Studs are commonly spaced at 16 or 24 inches on centre, so find the first one and the rest follow.

Plaster and lath

Old plaster crumbles when drilled dry and at speed. Drill pilot holes slowly, fix into the framing behind rather than into the plaster itself, and expect the surface to be uneven enough that packing at some fixings is needed to keep the rail straight.

Masonry, block and concrete

A hammer drill, the correct masonry bit, and masonry screws or sleeve anchors set in clean holes of the specified diameter and depth. Fixing into the solid face generally holds better than into a mortar joint, though joints are easier to make good later.

Glass and glazed partitions

Do not retrofit fixings into glass. Use a ceiling-mounted track, a fixing into the head channel above the glazing, purpose-made standoff hardware, or a free-standing system. This is the case where the track type is chosen by the wall rather than by the display.

Cubicle and demountable panels

Partition systems have their own hook and clip hardware sized to the panel edge or the frame. Drilling a demountable panel usually voids its warranty and rarely holds well. Match the hardware to the panel manufacturer.

Anything unknown

Fire-rated construction, structural walls, walls carrying services and anything in a corridor deserve a check before drilling. A cable or a pipe found by a drill bit costs more than the entire rail order.

2. Continuous or segmented

Stock lengths mean any wall longer than the longest extrusion is covered by joining sections. Use the manufacturer's splice connectors so the profiles stay aligned across the joint, and place joints where a stud or anchor supports both sides.

Segmenting deliberately is often the better answer. Breaking a run at doors, corners and changes of wall plane looks considered, avoids awkward short offcuts, and keeps each section independently levelled.

3. Height conventions

The gallery convention is to hang so the centre of the work sits around 57 to 60 inches above the floor, which is roughly average eye level. With a rail, that means setting the rail high enough that the hardware brings the centres down to the line, rather than putting the rail itself at that height.

Adjust for the audience. Primary school corridors are hung lower so children can see and reach their own work. Circulation routes should also respect protrusion limits for anything projecting from the wall between 27 and 80 inches above the floor.

4. Level and load

Set a laser line for the full run and mark from it. Measuring down from the ceiling or up from the floor reproduces every error in the building, and over a long wall the eye reads that instantly against the horizontal of the rail.

For load, paper is never the constraint. Framed work is: total the real weight, spread it over more hooks rather than fewer, and keep inside the ratings published for the cable, the hook and the anchor. The weakest of those three is your actual limit.

Specifying an order

Choosing a Display Rail

Two quotes are only comparable when they describe the same thing. Work through these seven points before you ask for pricing and the quotes that come back will line up against each other, which is usually worth more than shaving a few percent off a unit rate.

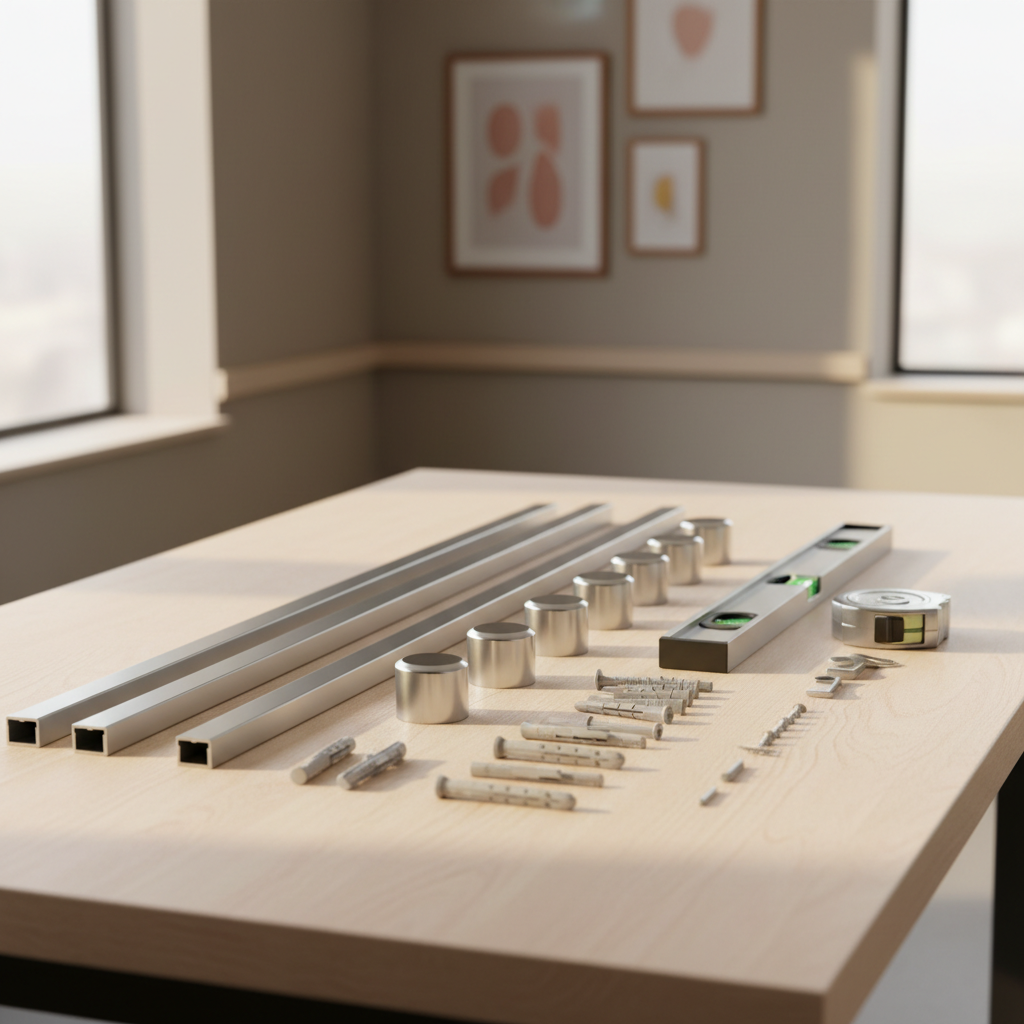
Rail sections, end caps, wall anchors, a level and a tape measure arranged on a workbench
Display rail selection criteria, what each one governs, and what to watch for
DecisionWhat it governsWhat to watch for
Total run length and joiningHow many linear feet you are covering, in how many separate runs, and therefore how many stock lengths, splices and end caps you need.Order by linear feet and by run, not by piece count. Splice connectors and end caps are routinely left off a first quote and then noticed on site.
What you are hangingThe single biggest driver. Paper and card, framed and glazed work, and large format banners each want a different grip and a different capacity.Specify the heaviest thing that will ever hang there, not the typical thing. Displays get more ambitious after the rail is in.
Grip mechanismPins into cork, a spring jaw, magnets, or cables and hooks from a track. This sets the cost, the speed of changeover and who can operate it.Match it to whoever changes the display. A mechanism that needs a knack will quietly stop being used and the tape will come back out.
Finish and colour matchHow visible the rail is: clear or satin anodized aluminum, painted colours, wood and wood-effect caps, and the colour of the cork or vinyl face.Ask for a physical sample against the wall colour. Anodized silver and white read very differently on a warm wall, and a photograph will not tell you which is right.
Wall substrateWhich anchors are required, whether the rail can be wall-mounted at all, and how much of the cost is labour rather than product.Confirm the substrate before ordering, not on installation day. Glass, demountable partitions and old plaster all change the answer.
AdjustabilityWhether hanging positions are fixed at install or can be moved afterwards, and how quickly a full rehang can be done.The more often the display changes, the more a track system earns its higher price. For a rail that changes twice a year, it is money spent on flexibility you will not use.
Budget per linear footThe honest comparison unit, taking in rail, inserts, end caps, splices, hooks, cables and the anchors the wall requires.Compare installed cost per linear foot, not the headline price of the extrusion. Hardware and labour routinely add more than the rail itself.

Profile dimensions, stock lengths, finishes and load ratings differ between manufacturers and between product lines from the same manufacturer. Work from the specification sheet and a physical sample for the exact product being quoted rather than from general figures.

Common questions

Display Rail FAQ

What is the difference between a display rail and a tack strip?

Tack strip is one kind of display rail. A tack strip, often sold as a map rail, is a narrow strip of cork or self-healing vinyl held in an aluminum retainer, and it takes push pins. Display rail is the wider term that covers every continuous wall-mounted strip made to hold changeable content, including tack strip but also spring-jaw gripper rails that hold paper without pins, magnetic rails, ceiling and wall track hanging systems, and clamping banner rails. If someone says display rail without qualifying it, ask which grip mechanism they mean, because the mounting, the cost per foot and what it will hold all follow from that.

Do display rails damage walls?

A rail concentrates all the wall damage into one row of fasteners at installation, and after that nothing else touches the wall. That is the entire point of the product. Compare it with the alternative: pins, tape and adhesive putty applied directly to the wall every time the display changes, which leaves pinholes that multiply, lifts paint when tape comes off, and eventually means patching and repainting. Rails do leave screw holes if you later remove them, so treat the position as semi-permanent and plan the run before you drill. Track systems mounted tight to the ceiling line are the least intrusive option of all, and magnetic and gripper rails leave the displayed sheets themselves completely unmarked.

What lengths do display rails come in?

Most rail products are sold in standard stock lengths, commonly in the four, six, eight, ten and twelve foot range, with cut-to-length or made-to-order options at a premium. Longer walls are covered by joining lengths end to end rather than by a single extrusion, partly because shipping anything much beyond twelve feet is awkward and expensive. Poster and banner rails are the exception, since they are usually sized to the width of the sheet they clamp rather than to the wall. Always confirm the actual stock lengths of the specific product line before you plan a run, because they vary by manufacturer.

Can I cut a display rail to length?

Aluminum rails and tracks are normally cut on site with a fine-tooth blade in a miter saw or a hacksaw and a miter box, then deburred. Cork and vinyl inserts are trimmed with a utility knife to match. Cut ends usually need an end cap to look finished, so order caps for every exposed end, including at the ends of a run that has been shortened. Cutting is routine for aluminum extrusions and track, but check the instructions for anything with an internal spring mechanism or a pre-drilled mounting pattern, since cutting can remove the fixing points or interfere with the jaw.

How much weight can a display rail hold?

There is no single figure, because the limit is set by three separate things: the rail itself, the hardware hanging from it, and above all the anchors holding it to the wall. Manufacturers publish ratings per cable, per hook, or per linear foot for track systems, and those numbers assume the rail is fastened into something structural. A rail screwed into hollow drywall with undersized anchors will fail long before the rail runs out of capacity. Paper and card weigh almost nothing and are never the constraint. Framed work is, so add up the actual weight of what you intend to hang, spread it across more hooks rather than fewer, and stay well inside the published rating.

Can I hang framed artwork and paper on the same rail?

Sometimes, but the two have different requirements and the usual answer is to use different products. Paper and card want a grip mechanism at the top edge, a cork face for pins, a spring jaw, or magnets, and none of those are designed to carry a heavy frame. Framed work wants a cable and hook system, where the load hangs from adjustable hooks and the frame is supported at its own hanging point. Gallery track systems handle both, since a cable and hook can carry a frame while a bulldog clip or a magnetic hanger on the same cable holds a sheet. If the same wall has to do both jobs and the budget allows a track system, that is the flexible answer.

How do I mount a display rail on masonry or glass?

Masonry, concrete and block need a hammer drill, the correct masonry bit, and either masonry screws or sleeve anchors set in clean, correctly sized holes. Drilling into the solid face of a block or brick generally holds better than drilling into a mortar joint, though joints are easier to make good later. Glass and glazed partitions should not be drilled at all as a retrofit. The normal solutions there are a track fixed to the ceiling or to the head channel above the glass, standoff hardware designed for glazing, or a free-standing display system. If you are unsure what is behind a surface, especially in a fire-rated or structural wall, get the installation checked before you drill.

How do I keep a long run level?

Work from a laser line, not from the ceiling or the floor. Ceilings sag, floors slope, and a rail measured down from a ceiling that is out by half an inch across twenty feet will read as visibly crooked even though your tape measure was consistent. Set the laser, mark the line, then mark stud or anchor positions along it and dry-fit the rail before committing to every hole. Where lengths are joined, use the manufacturer's splice connector so the profiles stay aligned at the joint, and check the level again after each section rather than at the end.

Contact

Get a Quote

Tell us what is going on the wall, how much wall there is, and what the wall is made of. Those three answers are enough to narrow the options and get you a comparable quote.

Picking a type

Working out whether pins, a gripper jaw, magnets or a track system fits what you are displaying and who will be changing it.

Working out the run

Turning a wall into linear feet, stock lengths, splices and end caps, including the parts that get left off a first quote.

Matching the wall

Drywall, plaster, masonry, glass or demountable panels, and which anchors and mounting method each one requires.

We use what you submit to respond to your enquiry, which can include sharing it with suppliers who can quote your request. We never sell your information. See our privacy notice.